生于忧患,咸鱼安乐
Toggle navigation
Home
About Me
Archives
Tags
在Windows下用VS Code写C++(msvc编译,使用环境变量)
windows
C++
2021-10-17 00:05:21
445
0
0
squarefong
windows
C++
# 零、背景 看到兆芯笔记本竟然只要一千多,是真的便宜。于是一个没忍住,剁手了。。。为了能更愉快的玩耍Rust,还是有必要装一下msvc。装msvc就顺手装了Visual Studio,就顺手写了个hello world,但是KX 6640MA的单核性能实在孱弱,Visual Studio用起来真卡,还是编辑器比较流畅,于是就有了这篇记录。 # 一、安装visual studio 首先去[官网](https://visualstudio.microsoft.com/zh-hans/downloads/)下个安装器,用在线安装器安装VS Community ~~现在都找不到离线安装包,如果网络不是很科学,可能这里会有点难受~~ 。选C++桌面即可。 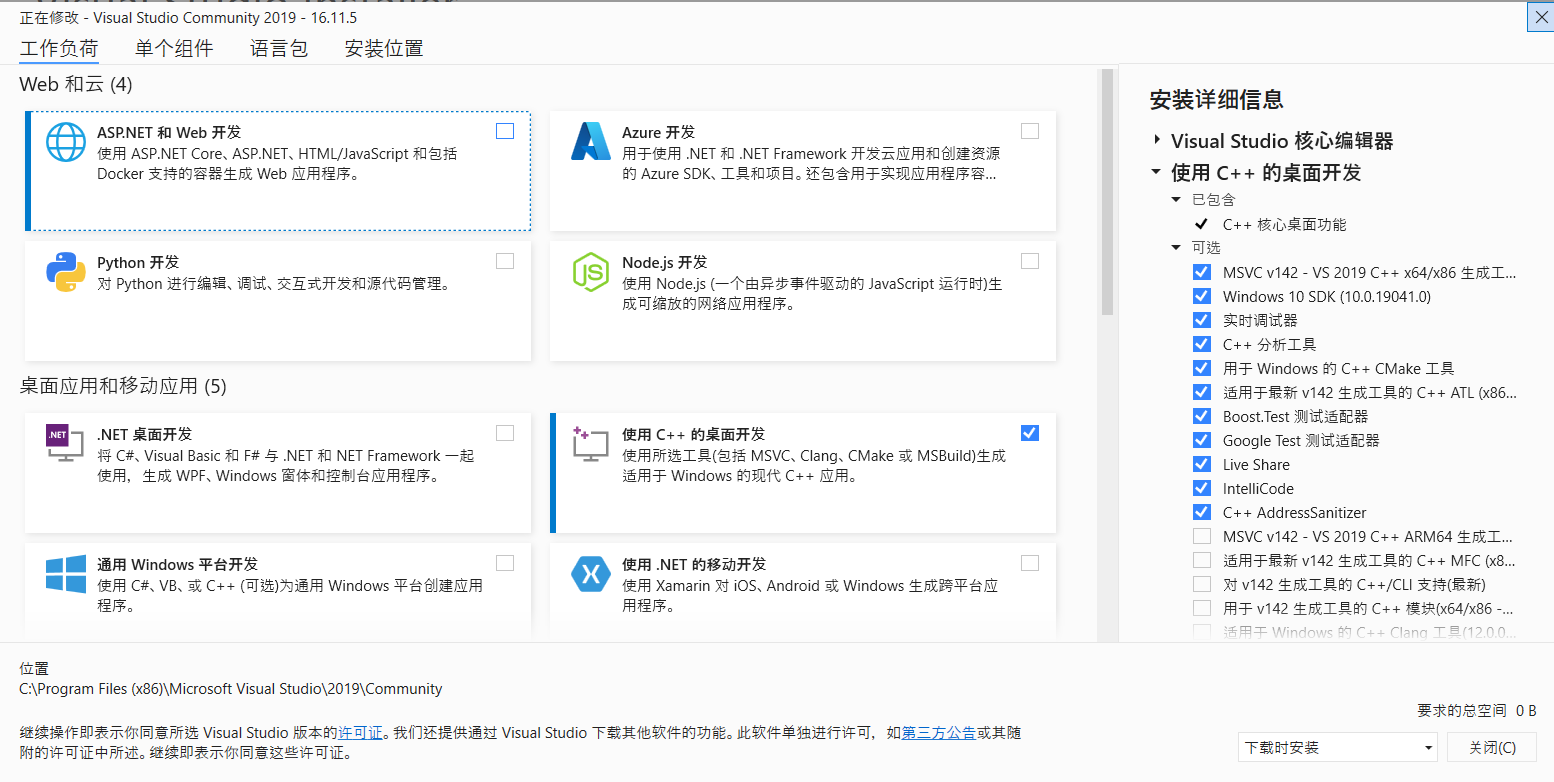 # 二、安装visual studio code 去[VS Code官网](https://code.visualstudio.com/download)下载安装一下,我选择的是User Setup 64bit。  # 三、安装插件,创建Hello World 这部分参考这里的[文档](https://code.visualstudio.com/docs/cpp/config-msvc) ## 1.安装C++插件 启动VS Code后,找到左侧扩展,搜索C++即可 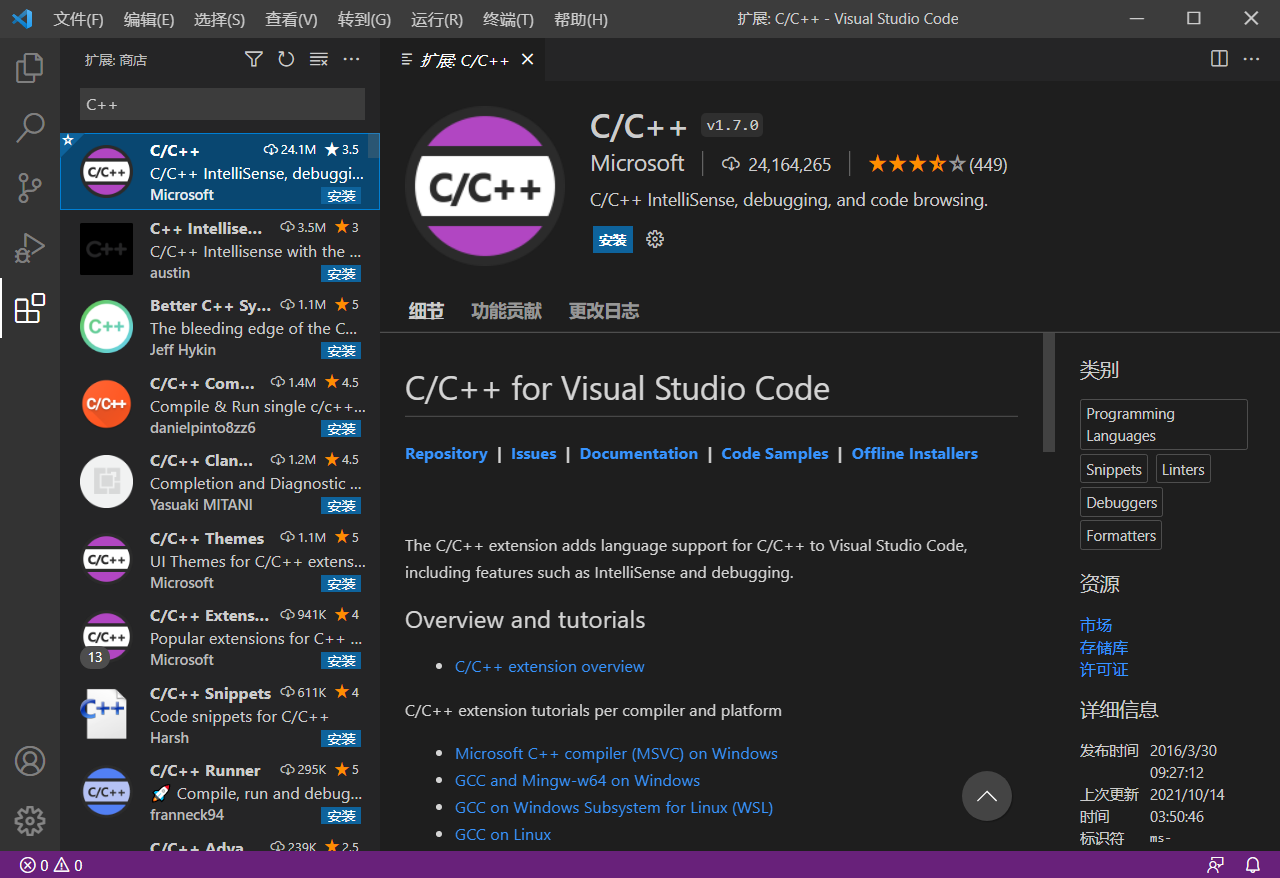 ## 2.创建Hello World 打开powershell或者cmd,执行下面的命令,即可打开一个文件夹作为工作区 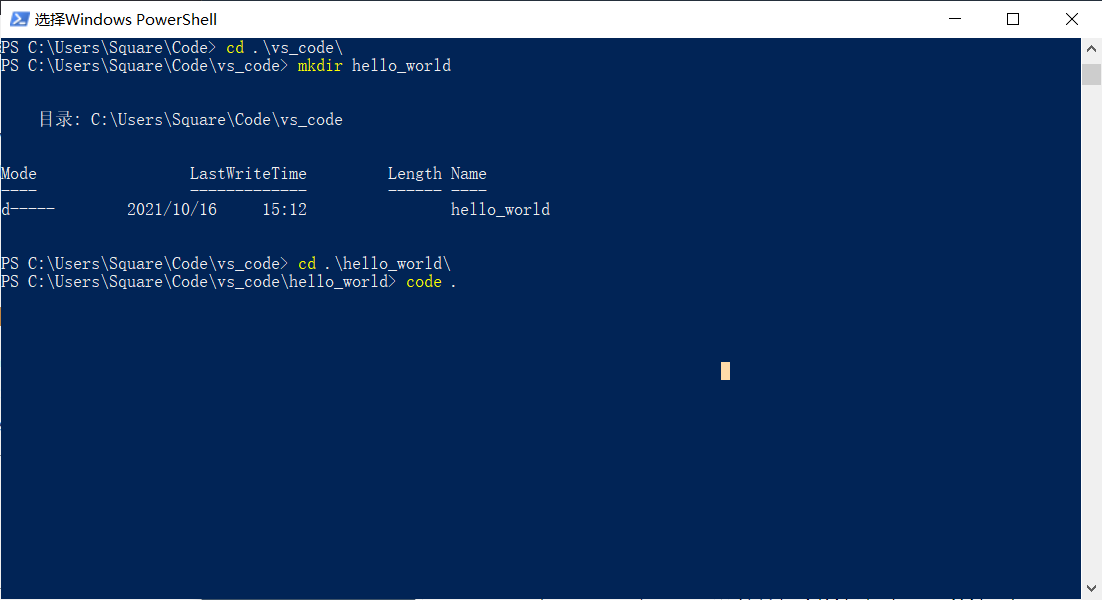 选择信任 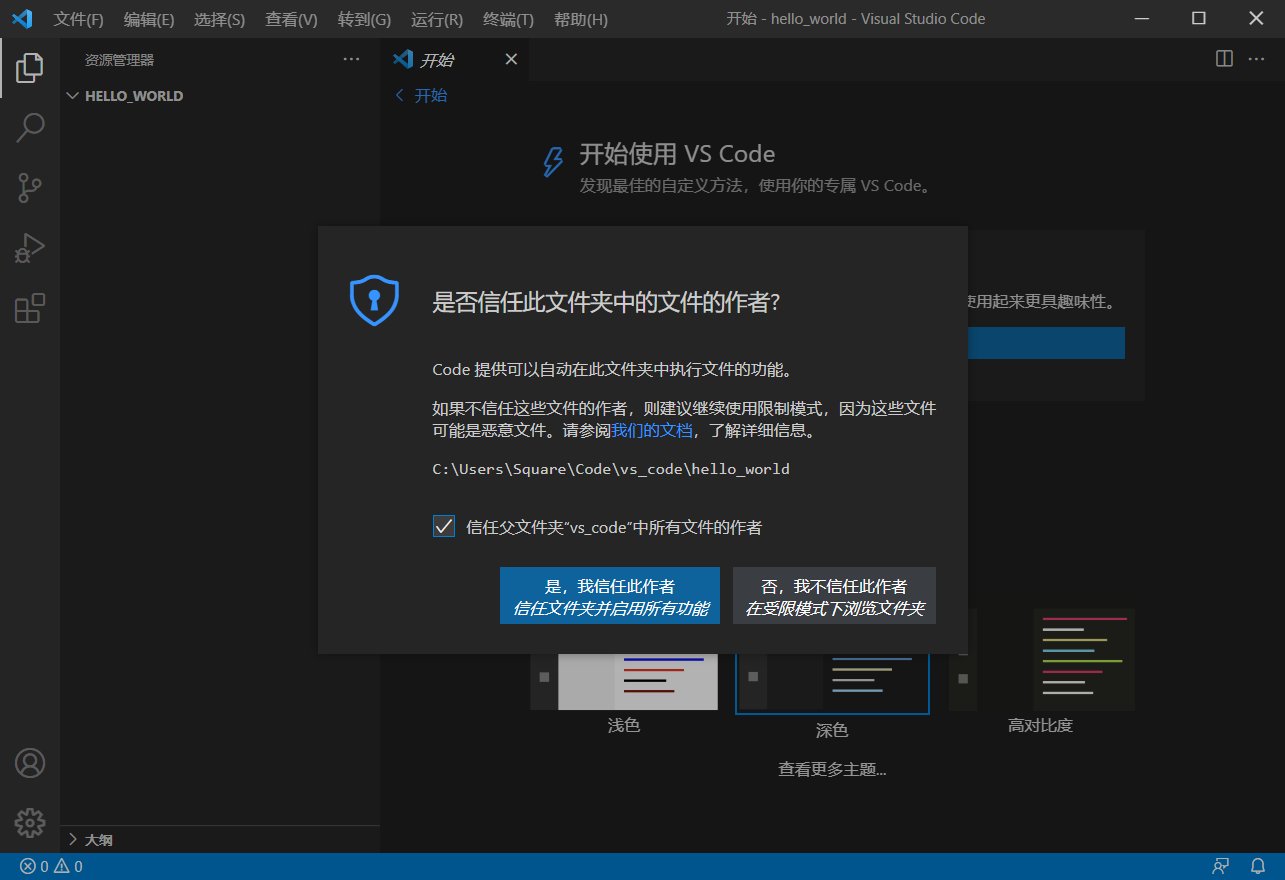 选择新建文件,取名为hello.cpp 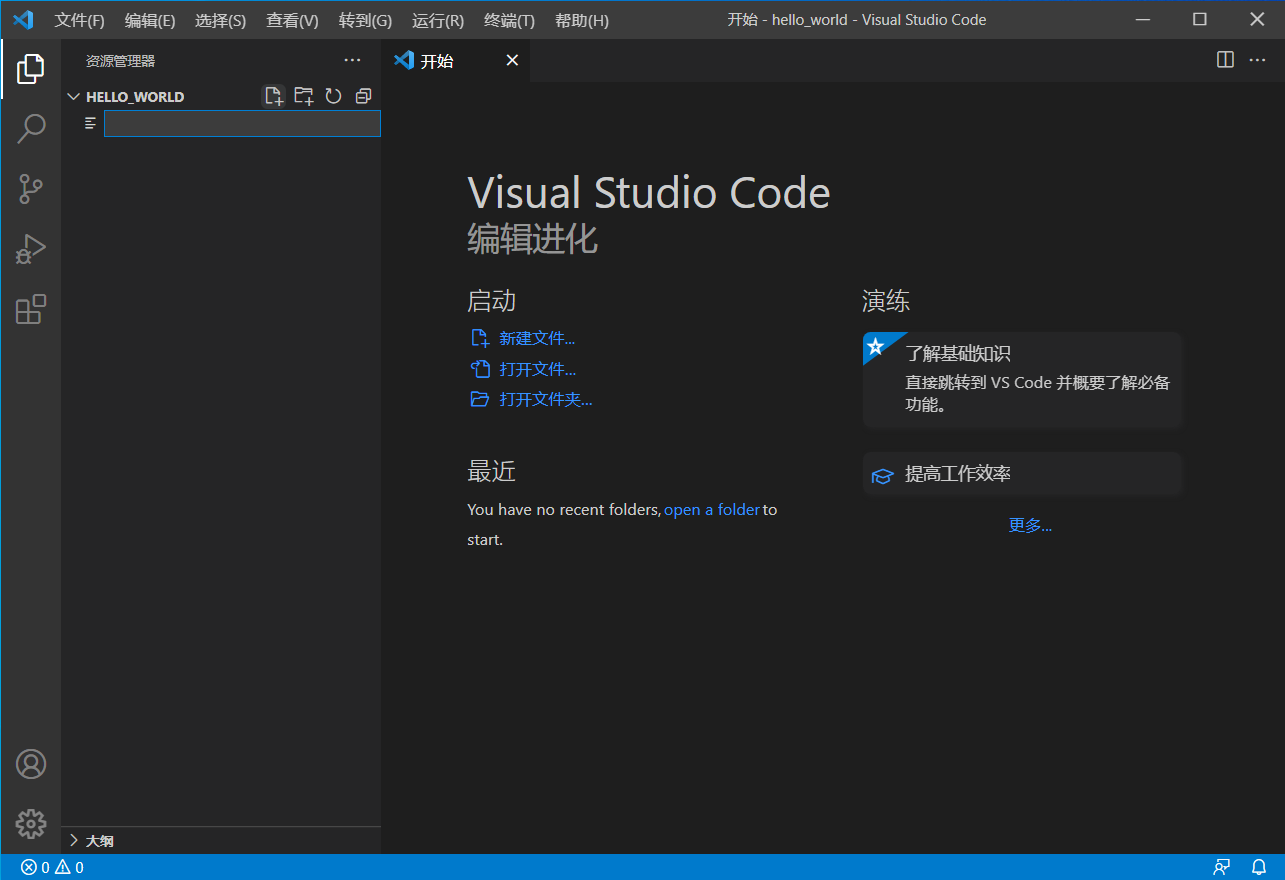 并随便写个hello world,比如: ```c #include<iostream> using namespace std; int main(){ cout << "hello world" << endl; return 0; } ``` ## 3.创建调试配置文件 按`Ctrl+F5`,弹出的框框选择`C++ (Windows)`,然后选择`cl.exe`。会自动生成`launch.json` 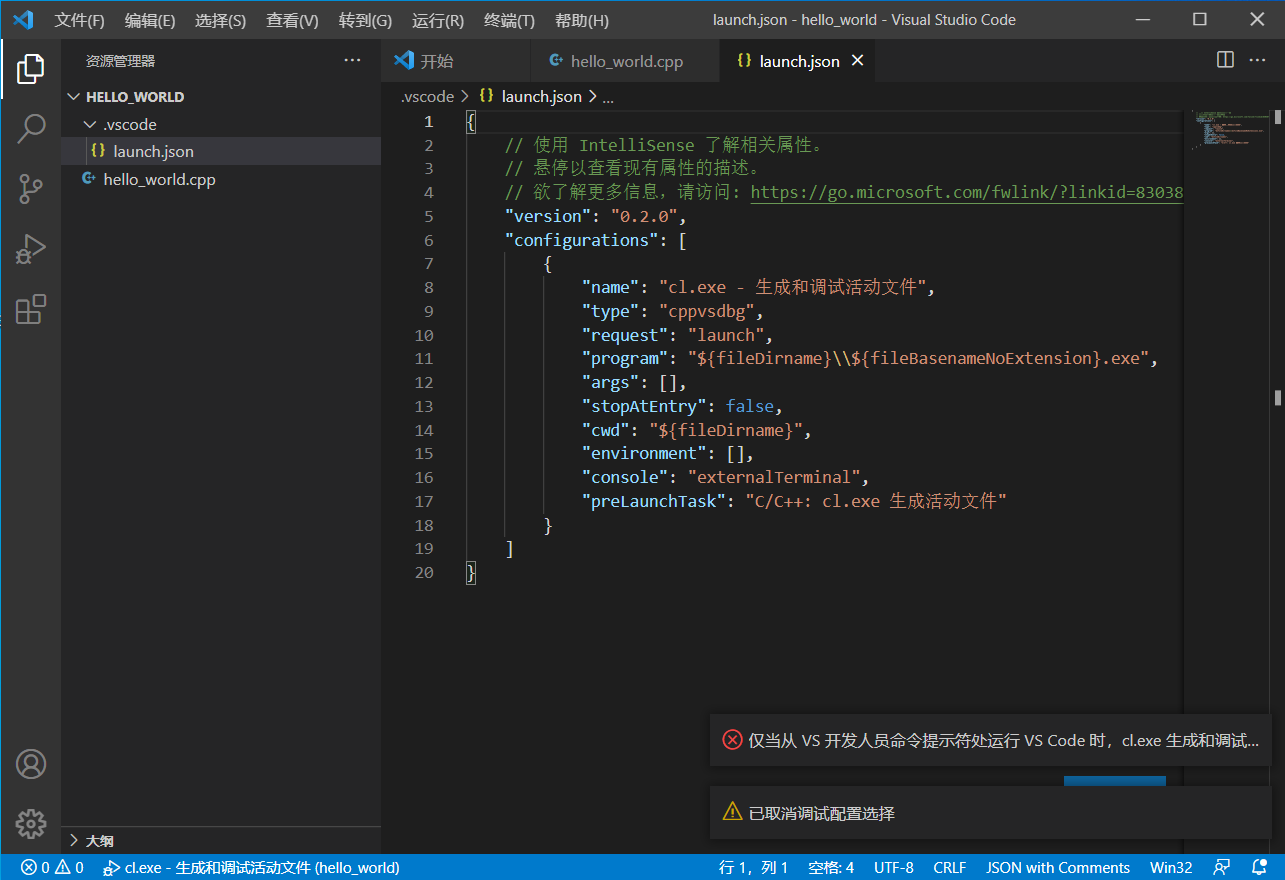 创建好了之后,选择hello.cpp标签页,再次使用`Ctrl+F5`快捷键。其实会报错,把命令`cl.exe /Zi /EHsc /nologo /Fe: C:\Users\Square\Code\vs_code\hello_world\hello_world.exe C:\Users\Square\Code\vs_code\hello_world\hello_world.cpp`复制出来到cmd执行以下,不难发现是`cl.exe`找不到。这就引出最后一步了 # 四、设置环境变量 Windows 10中打开环境变量的过程如下 打开设置->关于->高级系统设置->环境变量 > 注意,以下环境变量中的版本号需与安装版本一致 1) 首先,编辑系统变量里面的PATH,并添加 `C:\Program Files (x86)\Microsoft Visual Studio\2019\Community\VC\Tools\MSVC\14.29.30133\bin\Hostx64\x64` 2) 然后,在系统变量中选择新建。变量名为`INCLUDE`,变量值为`C:\Program Files (x86)\Windows Kits\10\Include\10.0.19041.0\shared;C:\Program Files (x86)\Windows Kits\10\Include\10.0.19041.0\ucrt;C:\Program Files (x86)\Windows Kits\10\Include\10.0.19041.0\um;C:\Program Files (x86)\Microsoft Visual Studio\2019\Community\VC\Tools\MSVC\14.29.30133\include;` 3)最后,在系统变量中选择新建。变量名为`LIB`,变量值为`C:\Program Files (x86)\Windows Kits\10\Lib\10.0.19041.0\ucrt\x64;C:\Program Files (x86)\Windows Kits\10\Lib\10.0.19041.0\um\x64;C:\Program Files (x86)\Microsoft Visual Studio\2019\Community\VC\Tools\MSVC\14.29.30133\lib\x64;` 保存确定后重启。 重启后再次在cmd下通过`code .`的方式启动后即可用`Ctrl+F5`自动编译并执行。 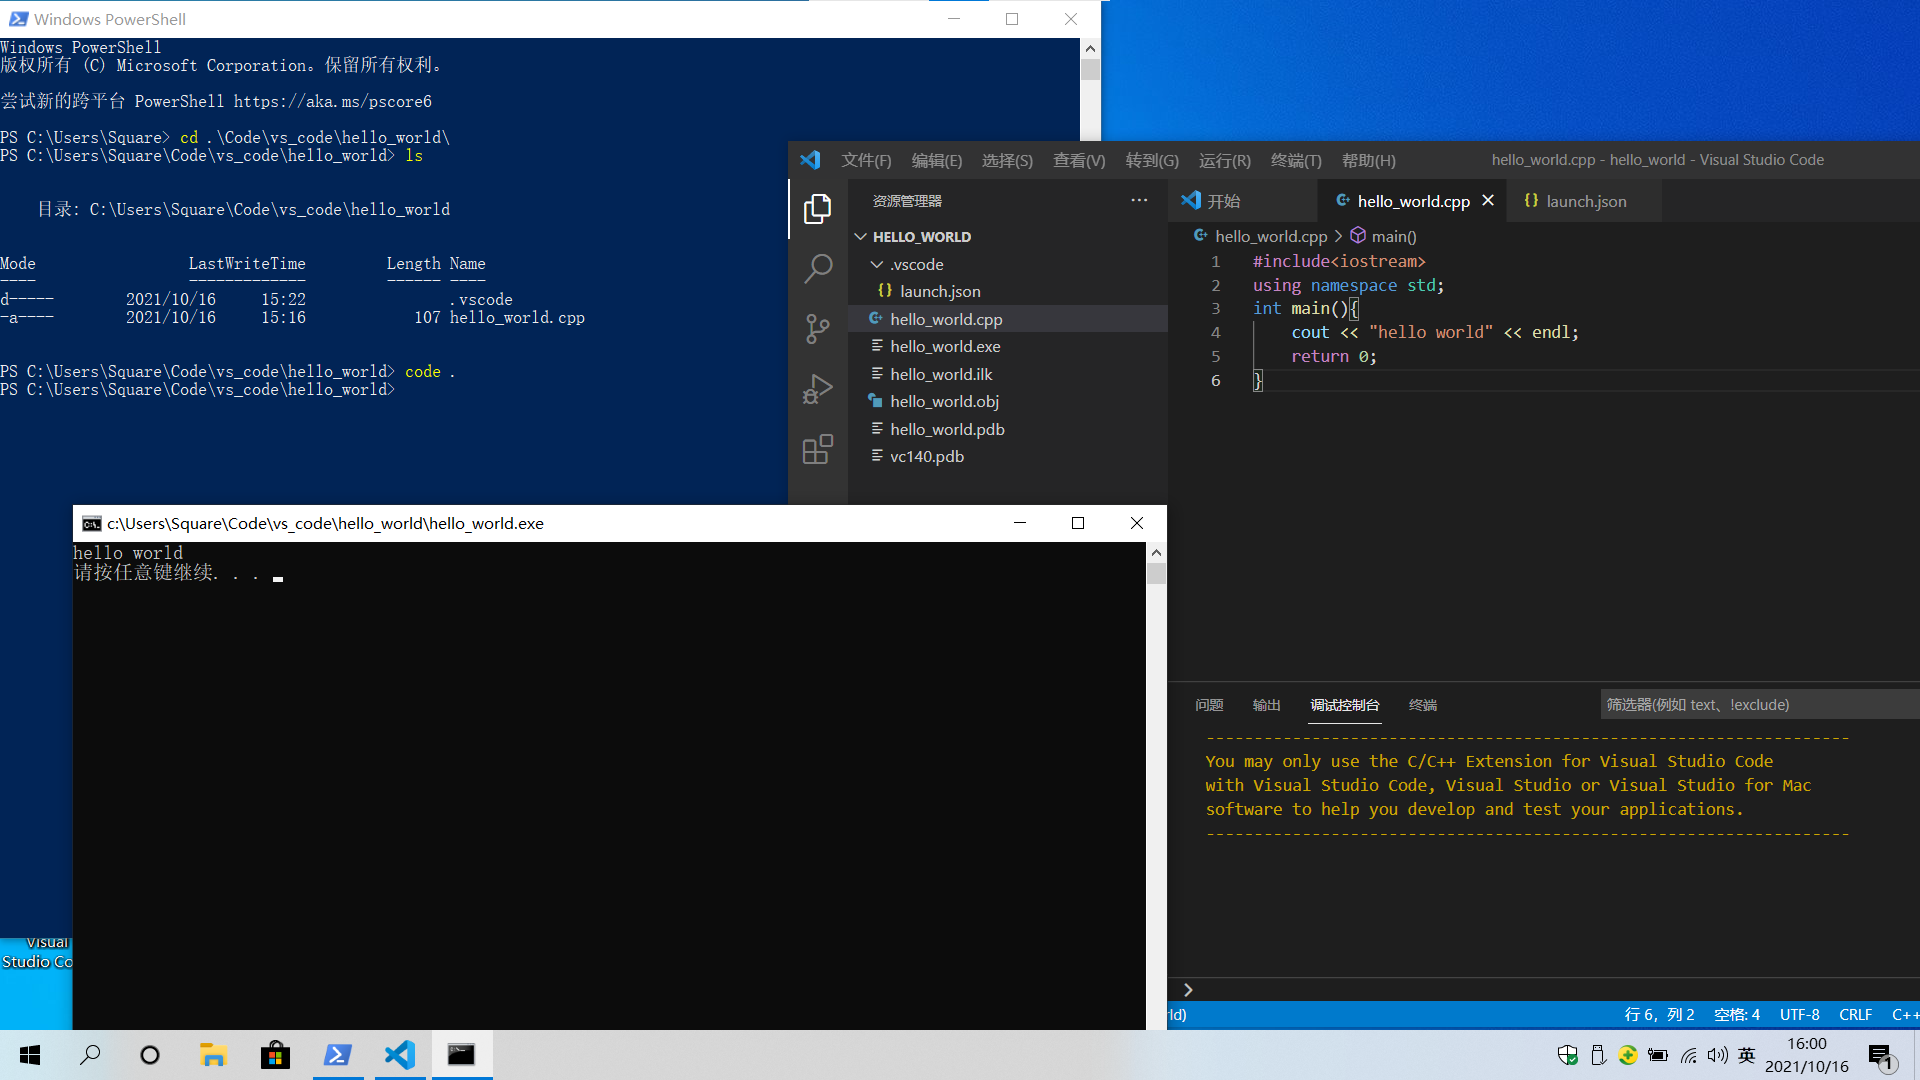
Pre:
在Windows on arm上原生运行IntelliJ IDEA
Next:
小谈Chrome OS使用体验
0
likes
445
Weibo
Wechat
Tencent Weibo
QQ Zone
RenRen
Please enable JavaScript to view the
comments powered by Disqus.
comments powered by
Disqus
Table of content
